Search This Blog

Saturday, August 21, 2010

Bitx-3 By Marcel Jacobs- Netherlands PE1LNX

Good News coming in From Netherlands our good friend Marcel Jacobs   PE1LNX , has completed his Bix Version 3 and sent us some beautiful pictures of his astonishing Bitx-3.

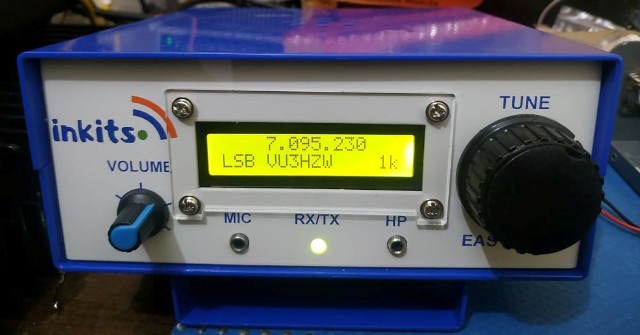
Marcel has constructed the Bitx in a very  attractive case , which happens to be an old transmitter.
The handle and Meter are giving it a professional look. Congratulations Marcel .

Here are some words straight from  Jacob  Marcel on his Bitx..

"As promised, I sent you some pictures of my final version of the BITX20 with the FLL VFO. The housing is an old air navigation beacon transmitter. 


As you can see, I didn’t assemble the PA completely, because I am still busy, building the 4 meter version.
Because of my vacation, and very good weather, is goes on a little bit slowly. But I will keep on going."

PICTURES    OF    BITX  3   BY   JACOB  MARCEL   PE1LNX


Thanks again Jacob, keep the good work going....

As I have a policy of giving exposure to every one who makes the Bitx-3. This time the honor goes to Jacob Marcel for his Bitx.
I greatly appreciate all my friends who have contributed their pictures and videos of Bitx, And hope to keep this system working ......

Best of 73s and Good Luck

VU3SUA


Sunday, July 25, 2010

DL4YHF Frequency Counter kit

Ramsey HR40C 40 Meter QRP Amateur Radio Receiver Kit

Many of my friends have built the DL4YHF Frequency Counter kit that we sell and many more are in the process of building it.

Before you build the kit, you are faced with a decision as to how to build the kit, you may wish to build as all components mounted on front side of pcb, that as absolutely fine but if you would like to mount it on a panel they parts may obstruct the mounting so you are likely to mount the components on the reverse side of the pcb. Now comes the tricky part.

I would recommend the method of mounting the components at the reverse side of the pcb only when you are good at soldering parts, the tracks of the pcb are quite narrow and fragile, so outmost care has to be taken in doing so. The soldering Iron required is to be of low wattage as not to damage the tracks.
Finally you should be ready to face some risk of repairing tracks and pads if broken while attempting the build of frequency counter.

I have made one of the Frequency Counter on the reverse side and I also had a minor brake of pad while mounting the power pins, which I joined with a small piece of wire.

I have published some pictures of the Frequency Counter and the various functions that can be viewed by pressing the function switch to set your frequency reading options.


REVERSE SIDE OF FREQUENCY COUNTER PCB

REAR SIDE OF FREQUENCY COUNTER PCB
                                       
   Some pictures we are publishing of Frequency Counter when in programing mode to set the desired
 option for reading frequency.
   
ON POWERING THE FREQUENCY COUNTER VIEW


FOR SETTING IF ENABLE MODE


ADD OR SUB IF


We hope that the pictures published have given a view of the different options available with setting of the
frequency counter and what way would suit you best to build it.


Wednesday, July 7, 2010

DL4YHF Frequency Counter kit.

The month of June could not allow me to post any new news on Bitx as I was busy with setting up a new office with more space for getting the kits made,packed and shipped.

Recently I came across an error in packing of  one resistance  in the DL4YHF Frequency Counter kit.
There is a 470 ohms resistance which was mistakenly packed with a 4K7 resistance.
Kindly correct the value to 470 ohms or the freq counter would not read any freq from any external source.


The frequency counter picture is being published here to show the location of the resistance 470 ohms.


One kind suggestion is to use a low wattage soldering iron for soldering the frequency counter components,or you may brake some tracks with a high wattage soldering iron.


Thanks and we are extremely sorry for any cause of the time you may have spent in locating the problem to get the frequency counter working.


Best of 73s

VU3SUA


Sunday, May 30, 2010

Bitx Version 3 From Netherlands

We have a very interesting Bitx  Version 3 build by Om Jacob Marcel  Pe1lnx,  from the Netherlands.
The pictures are being published of the following :

  •  FLL counter with Hartley VCO
  •  Experimental LPF for VCO, based on SVCFilter calculation
  •  The SVCFilter(freeware) calculation
  •  BITX20 version3
  •  Front Panel Bitx  first setup design made  by Jacob


Congrats Marcel hope to hear your Bitx qrv on air waves someday.
Keep it up and all the best
Best of 73s
De VU3SUA

Featured Post

   My Journey with Amateur Radio: Sunil Lakhani (VU3SUA) Shares His Story Hello, fellow radio enthusiasts! This is Sunil Lakhani, also known...