- A soldering Iron with a pointed bit should be used as the tracks on PCB are
quite narrow. - First Mount all the common cathode FND,solder them to the board,after that
check the FND with a multimeter each point of FND,which should glow.Now this step insures that all your FND are working and properly installed on the PCB. - Now mount the 7805,IN4148 and 220 ufd capacitor.After soldering it on the board,now connect 12Volts DC Supply and check if the 5 volt is being generated by your regulator stage.If its giving 5 Volts,then your second stage is completed.
- Now connect all the remaining components,leaving the Pic,which should be connected at the last step.
- After all components are mounted and soldered its time to mount the Pic base and solder it on the board,finally insert the Pic into its base,but do check the correct polarity of Pic.
- Check if all your jumpers are connected.
- Now Apply 12 volts again.The counter will start with all the FND illuminating,but will settle to one digit lighting to zero. This is the safe power mode.
- You can programe the Pic by going through the manual of the frequency counter.
- The small switch is used to programe the counter.
- After programming it connect the VFO of your rig with a suitable resistance,now you will get the frequency output.
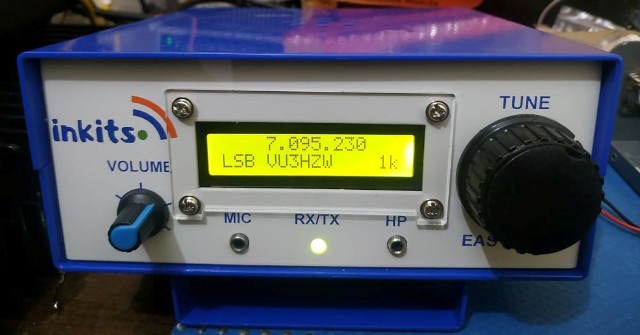
Bitx is an easily assembled ssb transceiver for all bands and for the Amateur Radio Operator-Hams, with very clean performance.Hams can home-brew the QRP TCVR by Using ordinary electronic components.
Showing posts with label Frequency Counter For Qrp Rigs. Show all posts
Showing posts with label Frequency Counter For Qrp Rigs. Show all posts
Wednesday, April 23, 2008
Frequency Counter Construction Tips
The frequency counter construction requires some careful home brewing.The following points should be taken into consideration which will help you in constructing it and incorporating in your commercial or home brew TCVR,Receiver or Transmitter.
Subscribe to:
Posts (Atom)
Featured Post
My Journey with Amateur Radio: Sunil Lakhani (VU3SUA) Shares His Story Hello, fellow radio enthusiasts! This is Sunil Lakhani, also known...

-
 My Journey with Amateur Radio: Sunil Lakhani (VU3SUA) Shares His Story Hello, fellow radio enthusiasts! This is Sunil Lakhani, also known...
 -
.jpg) After the Bitx3C ADE-1 we present the Bitx3C SBL-1 . The schematic is being published here. The Bitx3C SBL kit will be soon available ...
After the Bitx3C ADE-1 we present the Bitx3C SBL-1 . The schematic is being published here. The Bitx3C SBL kit will be soon available ... -
 NEW VERSION OF BITX KIT AVAILABLE After a break of few years we are back with our new Easy Bitx Kits. The Easy ...