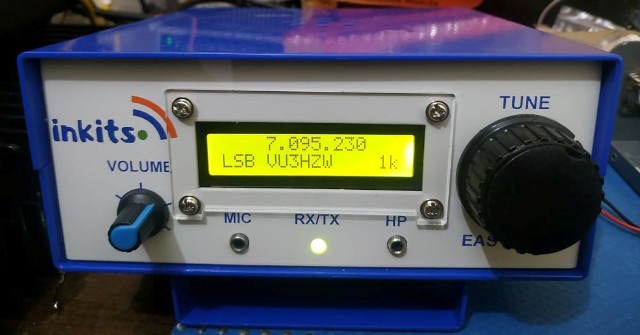
Many of my friends have built the DL4YHF Frequency Counter kit that we sell and many more are in the process of building it.
Before you build the kit, you are faced with a decision as to how to build the kit, you may wish to build as all components mounted on front side of pcb, that as absolutely fine but if you would like to mount it on a panel they parts may obstruct the mounting so you are likely to mount the components on the reverse side of the pcb. Now comes the tricky part.
I would recommend the method of mounting the components at the reverse side of the pcb only when you are good at soldering parts, the tracks of the pcb are quite narrow and fragile, so outmost care has to be taken in doing so. The soldering Iron required is to be of low wattage as not to damage the tracks.
Finally you should be ready to face some risk of repairing tracks and pads if broken while attempting the build of frequency counter.
I have made one of the Frequency Counter on the reverse side and I also had a minor brake of pad while mounting the power pins, which I joined with a small piece of wire.
I have published some pictures of the Frequency Counter and the various functions that can be viewed by pressing the function switch to set your frequency reading options.

REVERSE SIDE OF FREQUENCY COUNTER PCB
REAR SIDE OF FREQUENCY COUNTER PCB
Some pictures we are publishing of Frequency Counter when in programing mode to set the desired
option for reading frequency.
ON POWERING THE FREQUENCY COUNTER VIEW
FOR SETTING IF ENABLE MODE
ADD OR SUB IF
We hope that the pictures published have given a view of the different options available with setting of the
frequency counter and what way would suit you best to build it.


.jpg)

1 comment:
Looks like a nice little counter. Ramsey does make some nice kits and easy to assemble.
I would like to invite you to my main blog at http://hamslife.com
Post a Comment